How to Make a Chanhua Hydrangea Hairpin (Step-by-Step)
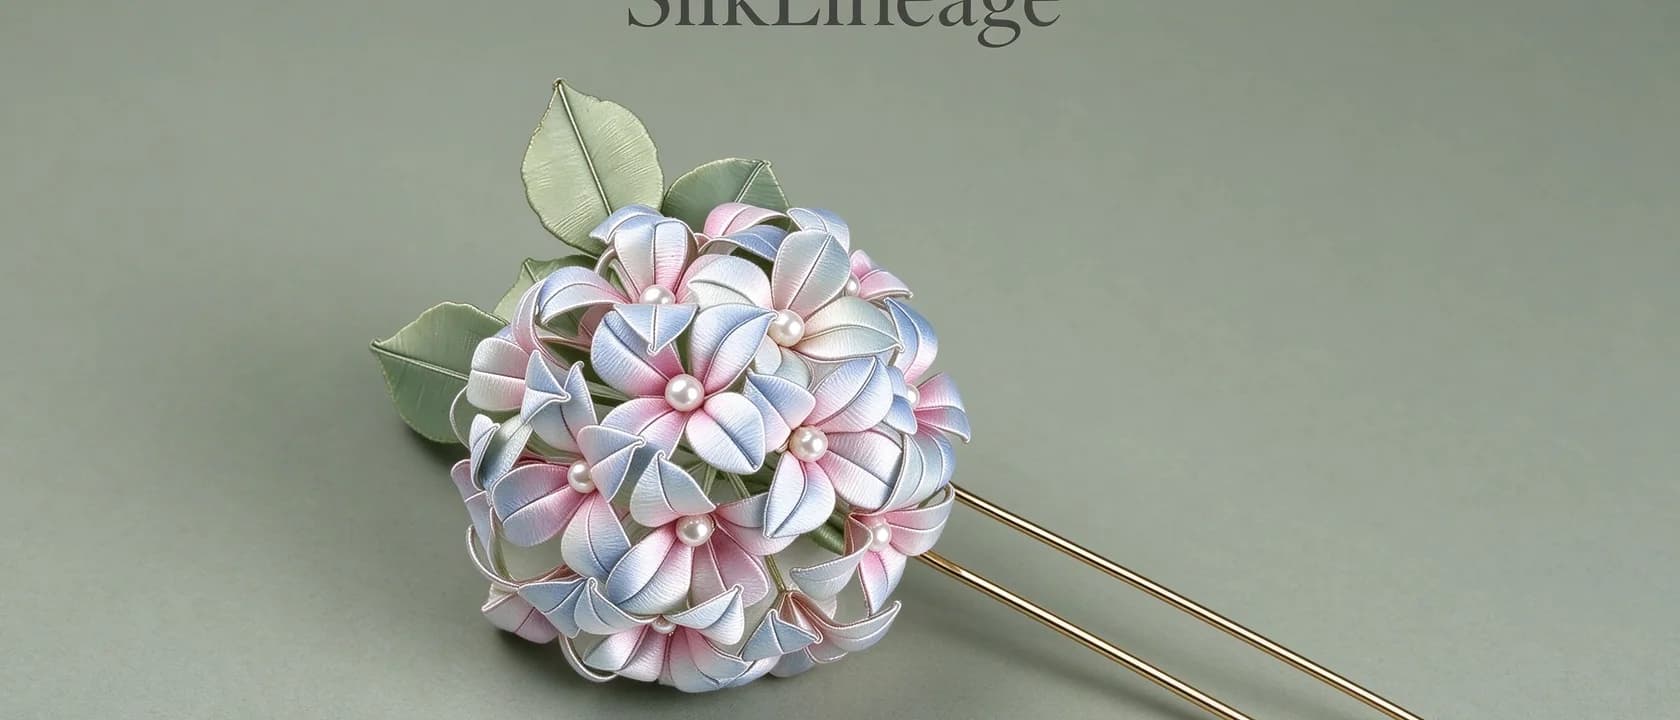
How do you make a chanhua hydrangea hairpin?
A chanhua hydrangea is built from twelve to eighteen small four-petal florets, each wound separately and then gathered into a dome so the head reads as one round bloom. It suits a first project better than a peony, because uneven florets disappear inside the cluster. Expect four to five hours.
The wrapping motion itself is the same one every chanhua flower uses, so if this is your first piece, how to wrap silk thread around a wire frame is the five-minute primer to read first.
What makes a hydrangea different from other silk flowers?
Most chanhua flowers are a small number of large petals arranged around a centre. A hydrangea works the other way round:
| Peony or rose | Hydrangea | |
|---|---|---|
| Building unit | 6–8 large petals | 12–18 small four-petal florets |
| Repetition | Moderate | High |
| Forgiveness of uneven work | Low — a bad petal shows | High — a bad floret hides in the cluster |
| Time | 4–6 hours | 4–5 hours |
| Reads as | Formal, sculptural | Soft, rounded, everyday |
The repetition is the point. You do the same tiny shape fifteen times, and your hands learn it properly by the fifth.
What do you need?
| Item | Note |
|---|---|
| Small four-petal wire floret frames | The kit supplies these; a hydrangea head needs more frames than a peony does |
| Dyed mulberry silk floss | One or two colours; two gives the dome depth |
| Central stem wire | Everything is wired back to this |
| Hairpin blank, 10–13 cm | A stick or fork |
| Pearl stamens or small beads | For the gaps between florets |
| Glue, scissors, tweezers, lighter | As with every chanhua build |
Step 1: Wind every floret before assembling anything
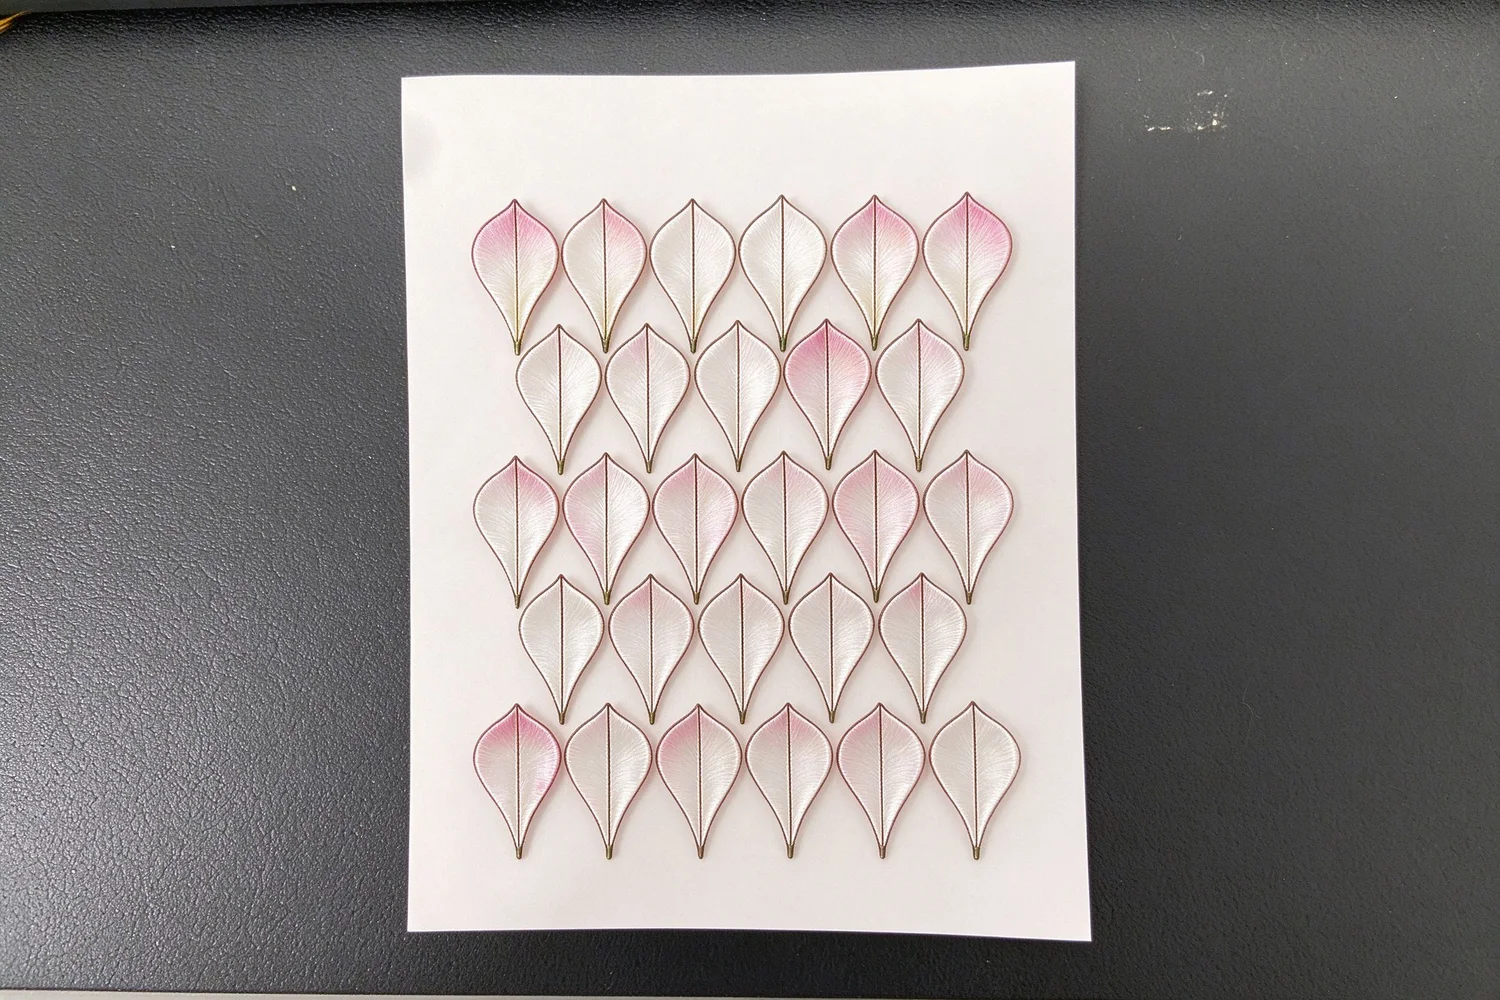
Make all twelve to eighteen florets first. Wrapping each one is the same motion: single strand, flat against the wire, turn beside turn, no gaps.
A four-petal floret is small, so a beginner should expect about eight minutes each at first — roughly two hours for the full set. By the tenth, that drops to four or five minutes.
Resist the urge to start assembling after five florets. Dry-fitting a half-built cluster tells you nothing about the finished silhouette, and moving florets around repeatedly loosens the wire.
Step 2: Seal the ends as you go
Flame-seal each floret's thread end the moment you finish it, not at the end of the session. A small petal has almost no wire to grip, so a loose end will start to unwrap while it sits in the pile.
Step 3: Build the dome in three rings
Gather the florets onto the central stem in rings:
- Inner ring (4–5 florets). Tight against the stem, cupping upward. These set the height of the dome.
- Middle ring (5–7 florets). Wired just below and slightly outward, so they hide the joins of the inner ring.
- Outer ring (5–6 florets). The lowest and most outward, facing down and out. This is what gives the head its rounded underside.
Wire each floret with two or three tight turns of thread, and rotate each ring so the joins never line up. That single habit is the difference between a dome that looks like a bloom and one that looks like a bundle.
Step 4: Fill the gaps and set the centre
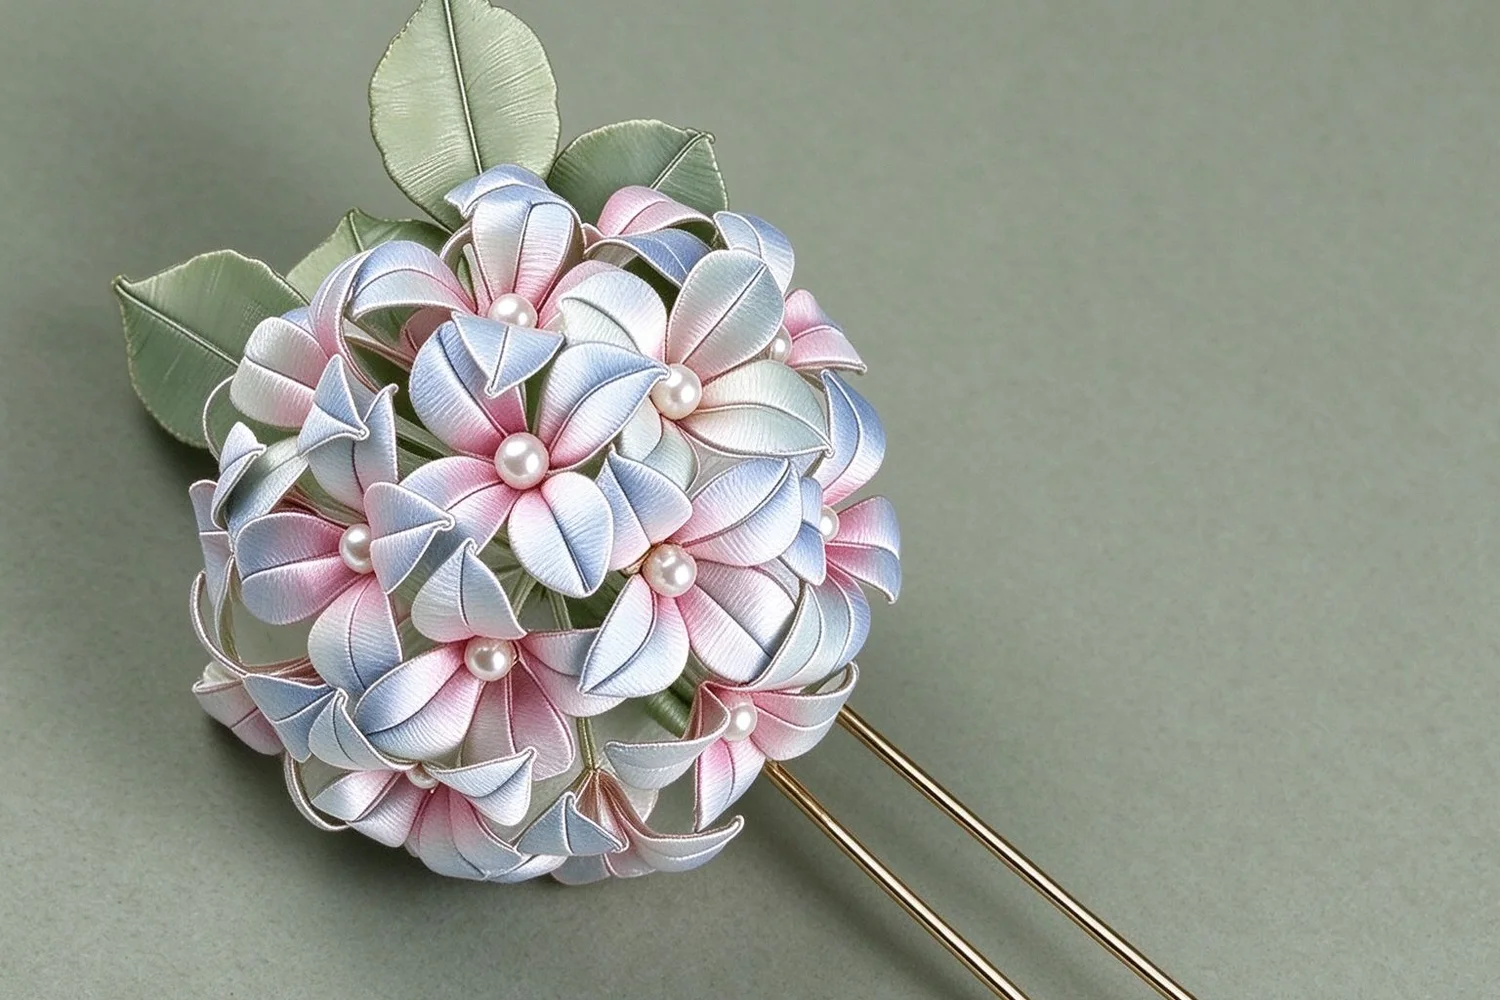
Turn the head in your hand under a lamp. Anywhere you can see the stem or a wire join through the florets, push a single bead or a pearl stamen into the gap and glue it. These are not decoration — they are what makes the cluster read as solid.
Step 5: Mount it so it does not tip
Bind the finished head to the hairpin blank and cover the binding with a short wrap of matching silk.
The important detail is position: mount the head slightly above the centre of the stick, not at the very top. A hair stick rotates around its midpoint, so weight placed above that point tips the flower forward all day. Shifted down even a centimetre, the same head sits still.
Keep the finished head under about 25 g. If it feels heavy in the hand, remove one outer floret rather than accepting a pin you will not wear.
How long does it take, stage by stage?
| Stage | Time |
|---|---|
| Sorting frames and colour plan | 10 min |
| Winding 12–18 florets | 2–2.5 h |
| Sealing and trimming | 20 min |
| Building the dome | 1 h |
| Mounting and finishing | 30 min |
| Glue curing | 24 h |
That is four to five hours hands-on for a first attempt, and around three once you have made one.
Where does it fit in a wardrobe?
Hydrangea reads softer than a peony or a phoenix, which makes it the easiest of the silk flowers to wear with ordinary clothes — a low bun, a linen shirt, a plain dress. If you want to see placements that work outside hanfu, how to wear hanfu hair accessories with modern outfits covers the three positions that survive daily wear.
The Hydrangea Hairpin Kit contains everything above. If you prefer a smaller first piece in the same technique, the Blue Trailing Jasmine Hairpin is lighter and quicker, and the symbolism page explains what the different flowers mean if you are making this as a gift.
Frequently asked questions
How many florets does a chanhua hydrangea need?
Twelve to eighteen small four-petal florets for a hairpin-sized head. Fewer than twelve and the dome looks sparse from the side; more than eighteen and the piece gets heavy enough to tip a hair stick forward.
Why is hydrangea a good first project?
Because it is built from many small identical units rather than a few large ones. A slightly uneven floret disappears inside the cluster, whereas the same unevenness on a six-petal peony is visible immediately.
How do I stop the hairpin tipping forward?
Keep the finished head under about 25 g and mount it slightly above the centre of the stick rather than at the very top. Weight above the balance point is what makes a hair stick rotate forward.
Can I make the hydrangea in one colour?
Yes, and a single colour reads as more formal. If you want the graded look, wind the outer florets in a paler thread and the inner ones darker, so the dome has depth when viewed from an angle.
Should the florets be glued or wired on?
Wire each floret to the central stem with a short thread wrap and use glue only for the final binding and the pearl centre. All-glue builds shed florets within a few months.