How to Wrap Silk Thread Around a Wire Frame (Chanhua Basics)
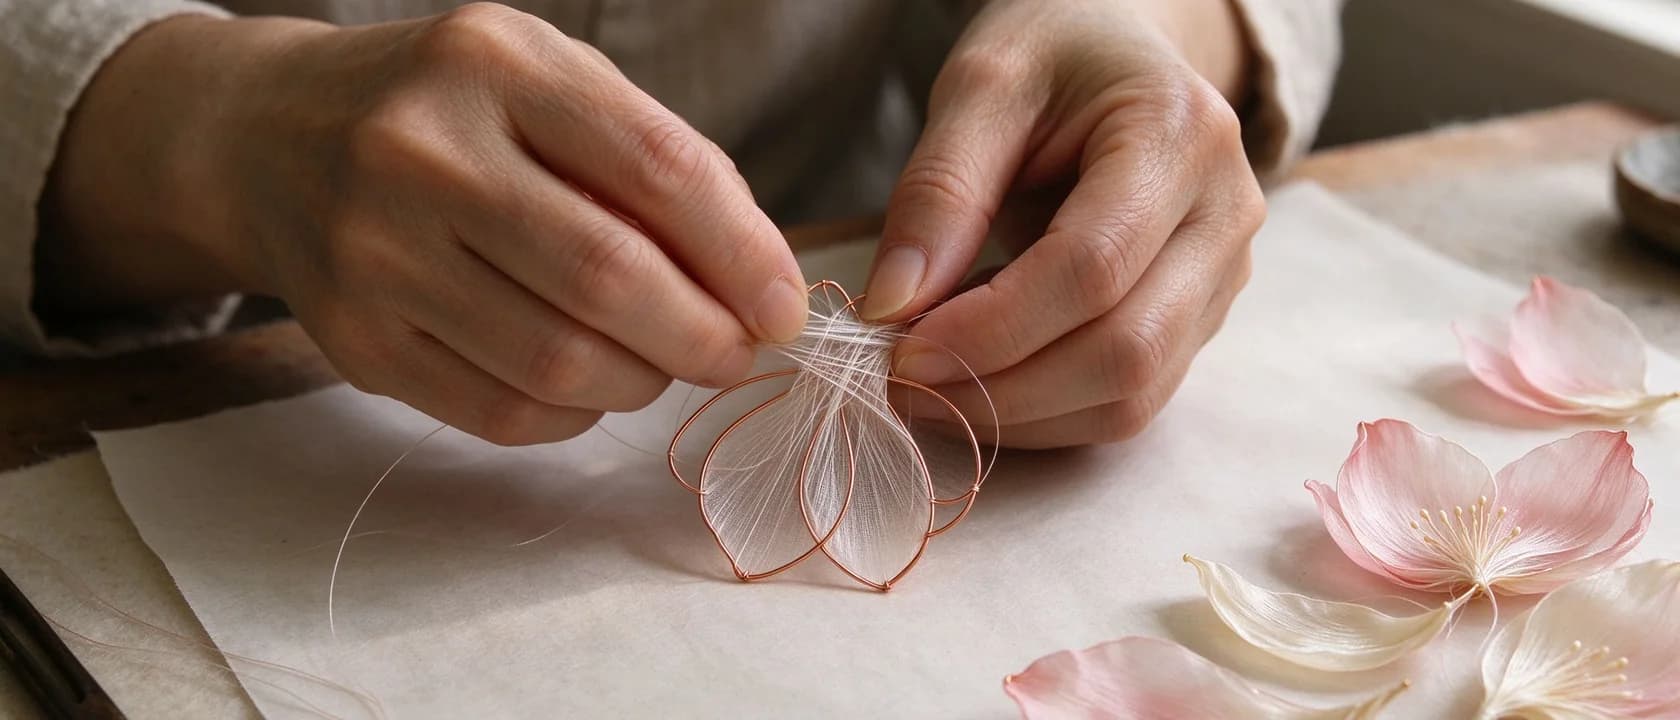
How do you wrap silk thread around a wire frame?
You hold a single strand of silk flat against the shaped wire and turn the frame so each pass sits directly beside the last one — never crossing over it. Work from the base of the petal to the tip, then back down, and finish by sealing the loose end. Dense, gap-free turns are what make the finished petal look like silk rather than string.
That is the whole craft. Everything else in chanhua — petals, leaves, whole flower heads — is this one motion repeated.
If you are new to the craft, what chanhua is is worth five minutes first: knowing why the frame exists makes the wrapping easier to learn.
What do you need before you start?
| Item | Why |
|---|---|
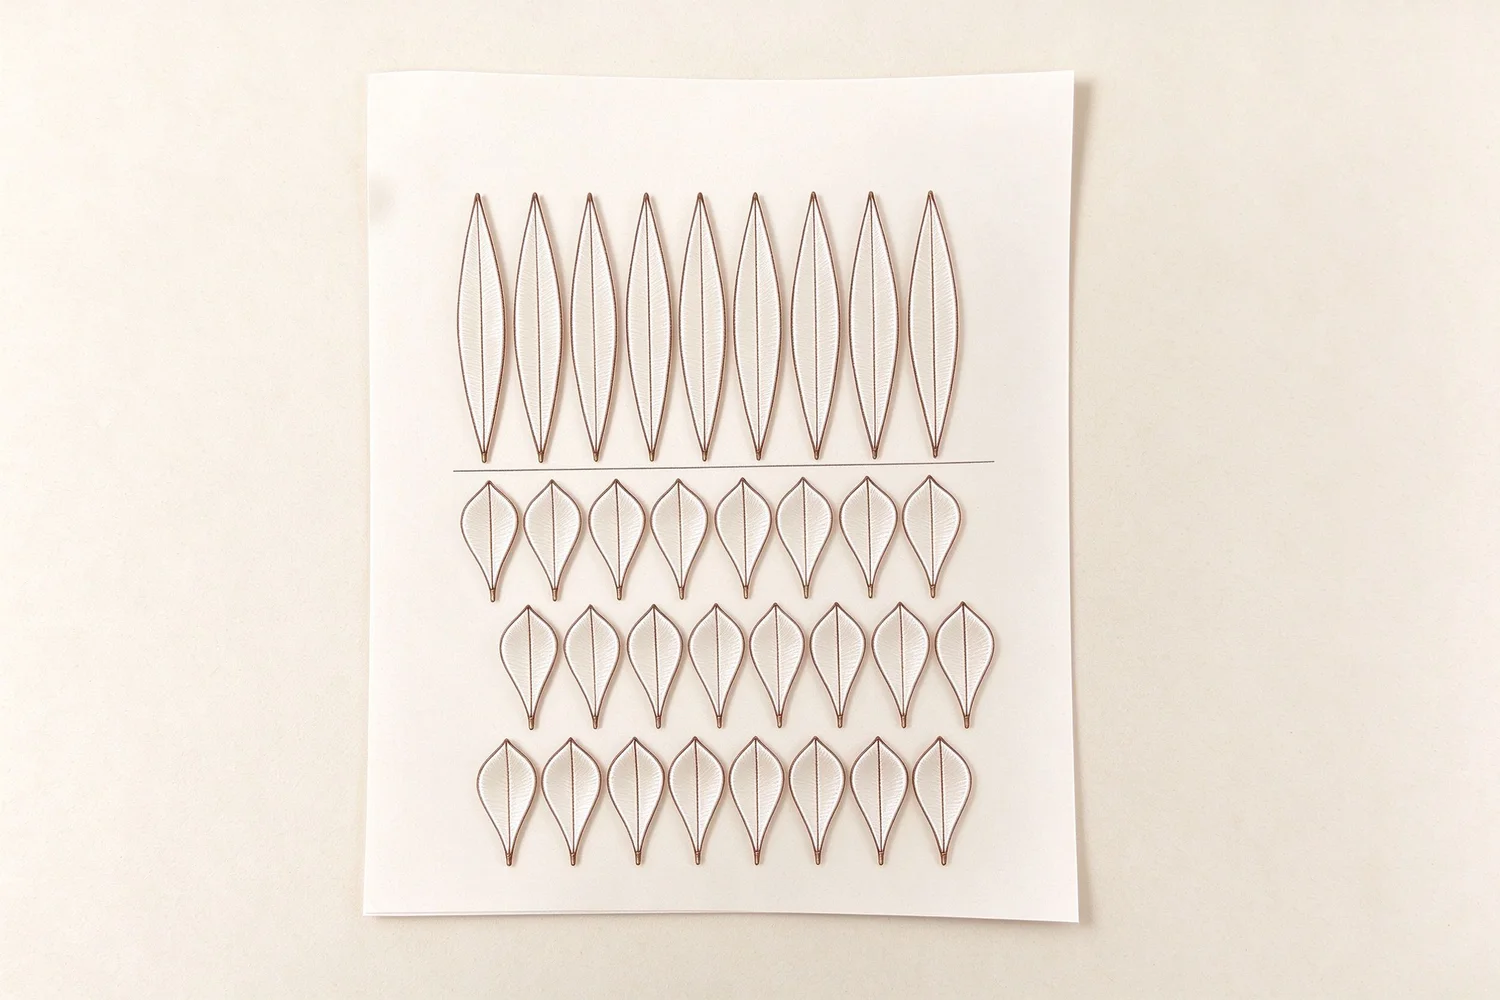
| Shaped wire petal frames | The shape you are covering. Ready-made frames are the point of learning on a kit |
| Dyed mulberry silk floss | Flattens against wire; polyester does not |
| Small sharp scissors | Trims thread ends without crushing the wrap |
| Tweezers | Tucks the final end under the wrap instead of leaving a knot |
| A lighter | Seals the ends so the silk cannot fray |
| A hook or chair back | Holds the unused floss so it cannot tangle |
Step 1: Split the floss into a working strand
Silk floss is sold plied — several fine strands twisted together. For wrapping you want one strand, not the full thickness.
Cut about 60 cm, separate a single strand, and let the rest hang over the back of a chair. Floss left coiled on the table will find a way to knot, and unpicking a knot in silk costs more time than the petal took to wrap.
Step 2: Anchor the thread at the base
Hold the frame in your non-dominant hand with the base pointing toward you. Lay the thread along the wire — along it, not across it — and make two or three tight turns at the very base to lock it in place.
Those first turns are the anchor. If they slip, the whole petal loosens later, so it is worth redoing them rather than hoping.
Step 3: Wrap to the tip
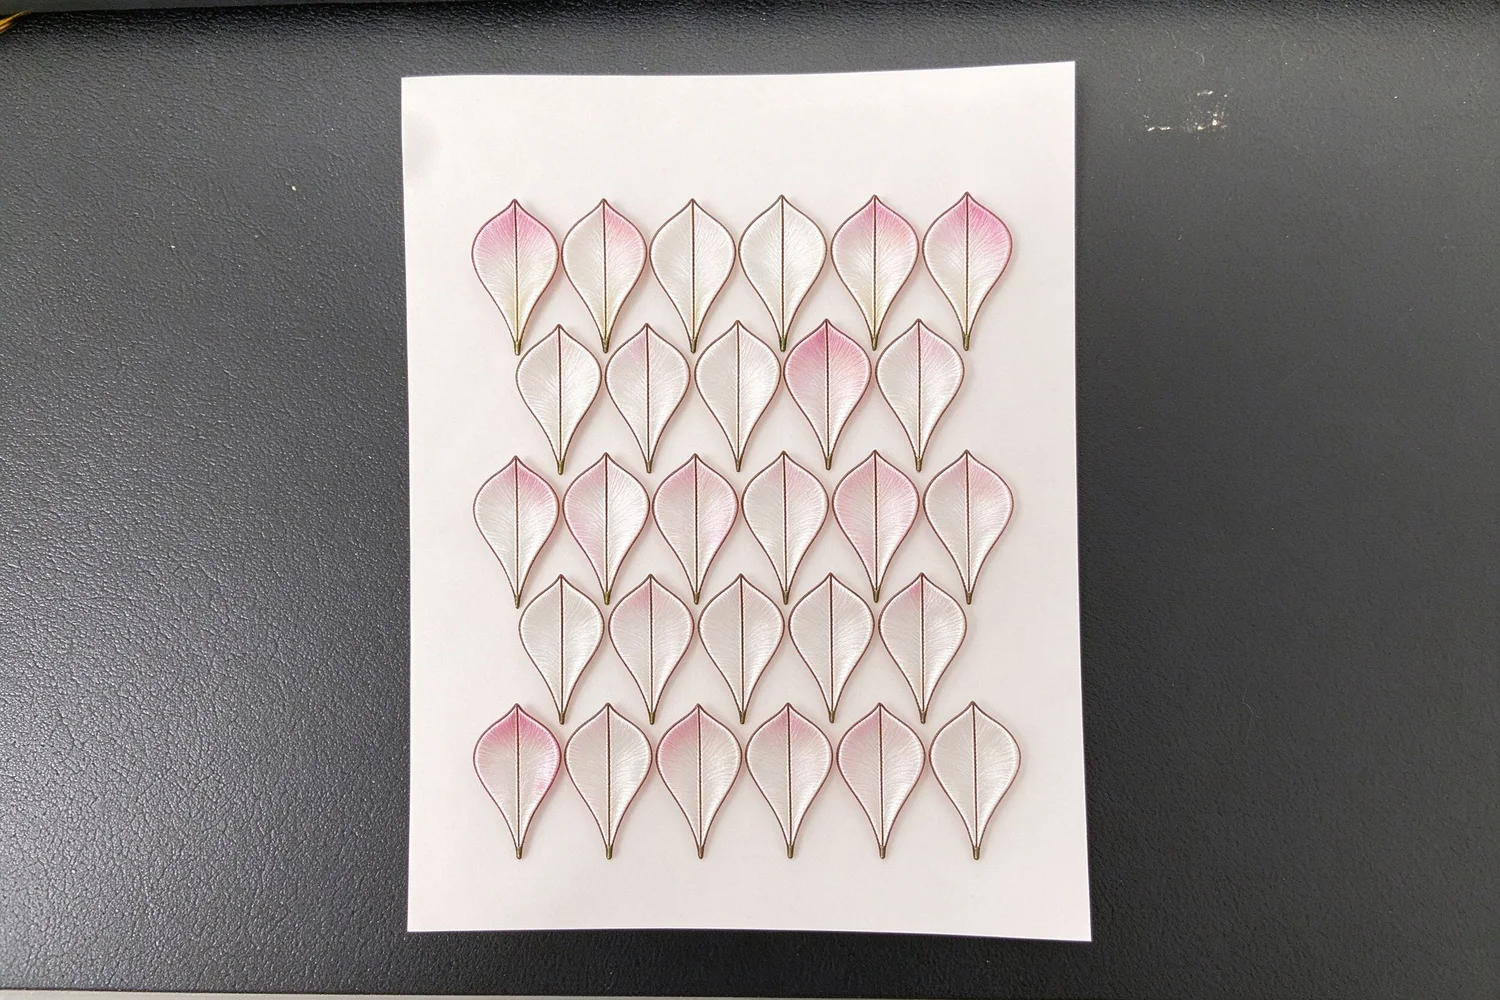
Turn the frame steadily and keep the strand parallel to the wire. Each new turn should land flush against the previous one: no gap showing bare wire, no overlap forming a ridge.
Two things to feel for:
- Flat, not tight. Silk barely stretches, so pulling harder does not make the wrap denser — it just bows the wire. If the frame starts to bend, you are pulling too much.
- Even rhythm. Slow and even beats fast and jerky. Rushing shows up as alternating tight and loose bands.
Step 4: Wrap back down and seal the end
When you reach the tip, wrap back down toward the base. On the way down, tuck the final end under the wrap with tweezers rather than knotting it — a knot leaves a lump that shows on the finished flower.
Then pass the very end of the thread briefly through a lighter flame. This melts the fibre tips so the silk cannot fray, and it takes less than a second. Do this outdoors or near a window; the smell is distinctive.
Step 5: Check the petal against a light
Hold the finished petal up to a lamp or a window. If you can see bare wire through the thread, the wrap has a gap, and it will be far more obvious on the finished piece than it is now.
Rewrapping one petal takes a few minutes. Noticing it after the flower is assembled means either dismantling the arrangement or living with it.
What are the three mistakes that ruin a petal?
| Mistake | What it looks like | The fix |
|---|---|---|
| Spiralling the thread | Ribbed, rope-like surface | Keep the strand parallel to the wire as you turn |
| Pulling too hard | Bowed wire; the petal will not hold a curve | Wrap densely, do not pull tightly |
| Leaving the end knotted | A visible lump at the base | Tuck the end under the wrap with tweezers, then seal with flame |
All three are technique rather than talent, which is why the second petal is usually visibly better than the first and the eighth is close to automatic.
How long does one petal take?
The first petal is slow — expect 20 minutes and a certain amount of unpicking. By the tenth, a small petal takes three to four minutes. A six-petal hairpin is therefore roughly 2.5 to 3.5 hours of wrapping for a beginner, and 1.5 to 2 hours once the motion is familiar.
That curve is worth remembering when a kit says "four to six hours". Most of that estimate is the learning, and it is paid once.
Where should you practise this?
Start on petals that forgive unevenness. Round, broad shapes hide small differences in tension; pointed shapes and fine leaves do not.
The Hydrangea Hairpin Kit is the shortest first project, built almost entirely from soft round petals — useful while your hands are still learning the rhythm. If you would rather make something with more presence, the Blue Phoenix Brooch Kit adds longer, more demanding shapes once the basic wrap feels natural.
Once you can wrap a clean petal, the natural next step is putting a whole flower together — the peony hairpin tutorial walks through the full sequence from sorted petals to a mounted piece.
Frequently asked questions
How tight should the silk be when wrapping?
Firm enough to sit flat against the wire, never tight enough to bend it. Silk has almost no stretch, so density comes from placing each turn directly beside the last one, not from pulling hard.
Why does my petal look ribbed instead of smooth?
The thread is spiralling around the wire instead of lying flat against it. Keep the strand parallel to the wire as you turn, and press each turn down with your thumb before starting the next.
How long should the working thread be?
About 60 cm. Longer tangles, shorter means re-threading every petal. Keep the unused floss hanging over the back of a chair or hook rather than coiled on the table.
Why do the thread ends need a flame?
Silk frays. A brief pass through a flame melts the fibre ends so they cannot unravel, which is the difference between a petal that lasts years and one that loosens after a few wears.
Should I learn to shape my own wire frames?
Not first. Shaping wire is its own skill and it is the step most likely to end a beginner's first project. Learn the wrapping motion on ready-made frames, then move on to forming frames once your hands know the rhythm.