How to Make a Chanhua Peony Hairpin (Step-by-Step)
What is a chanhua peony hairpin?
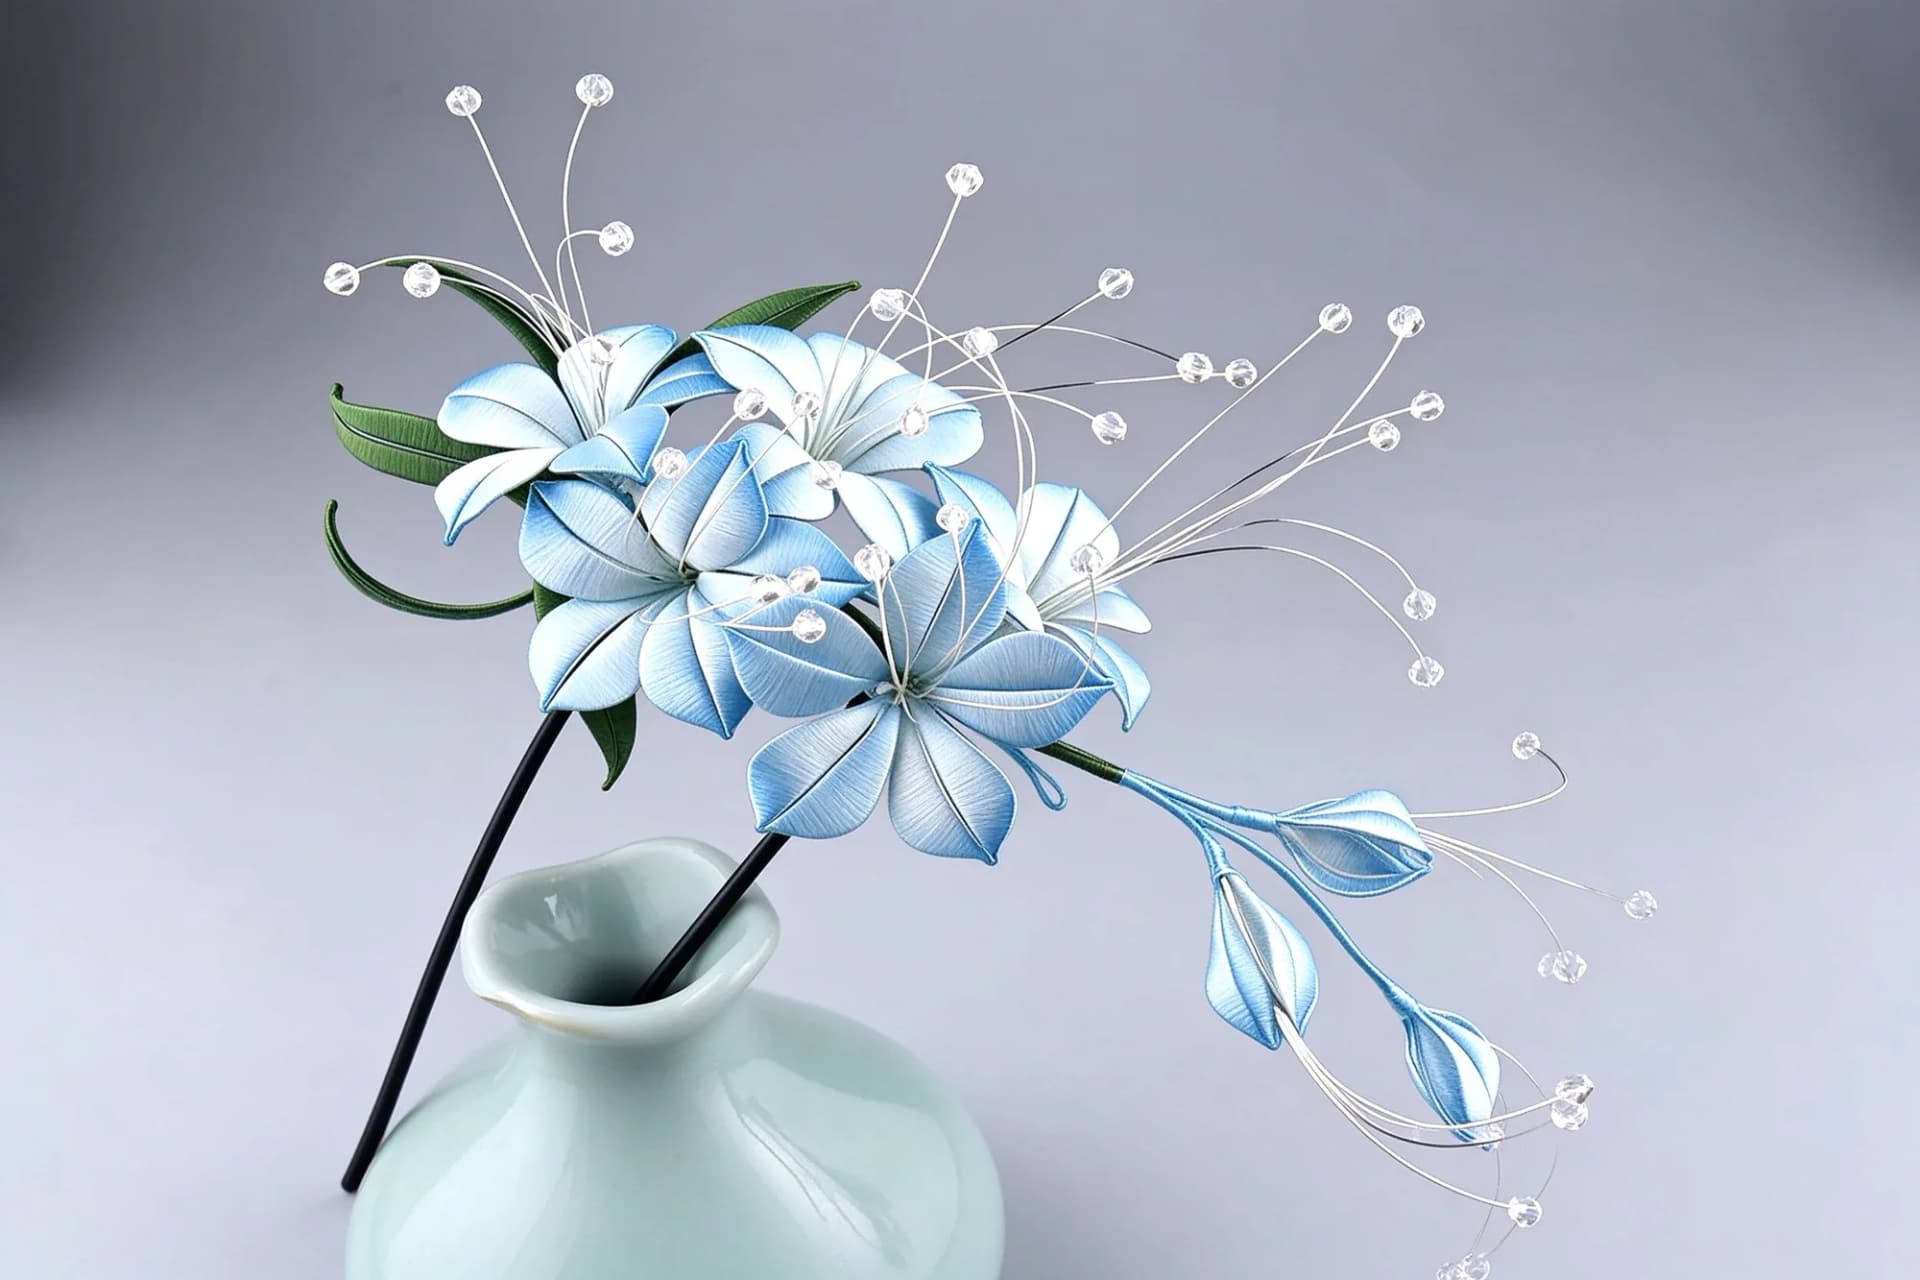
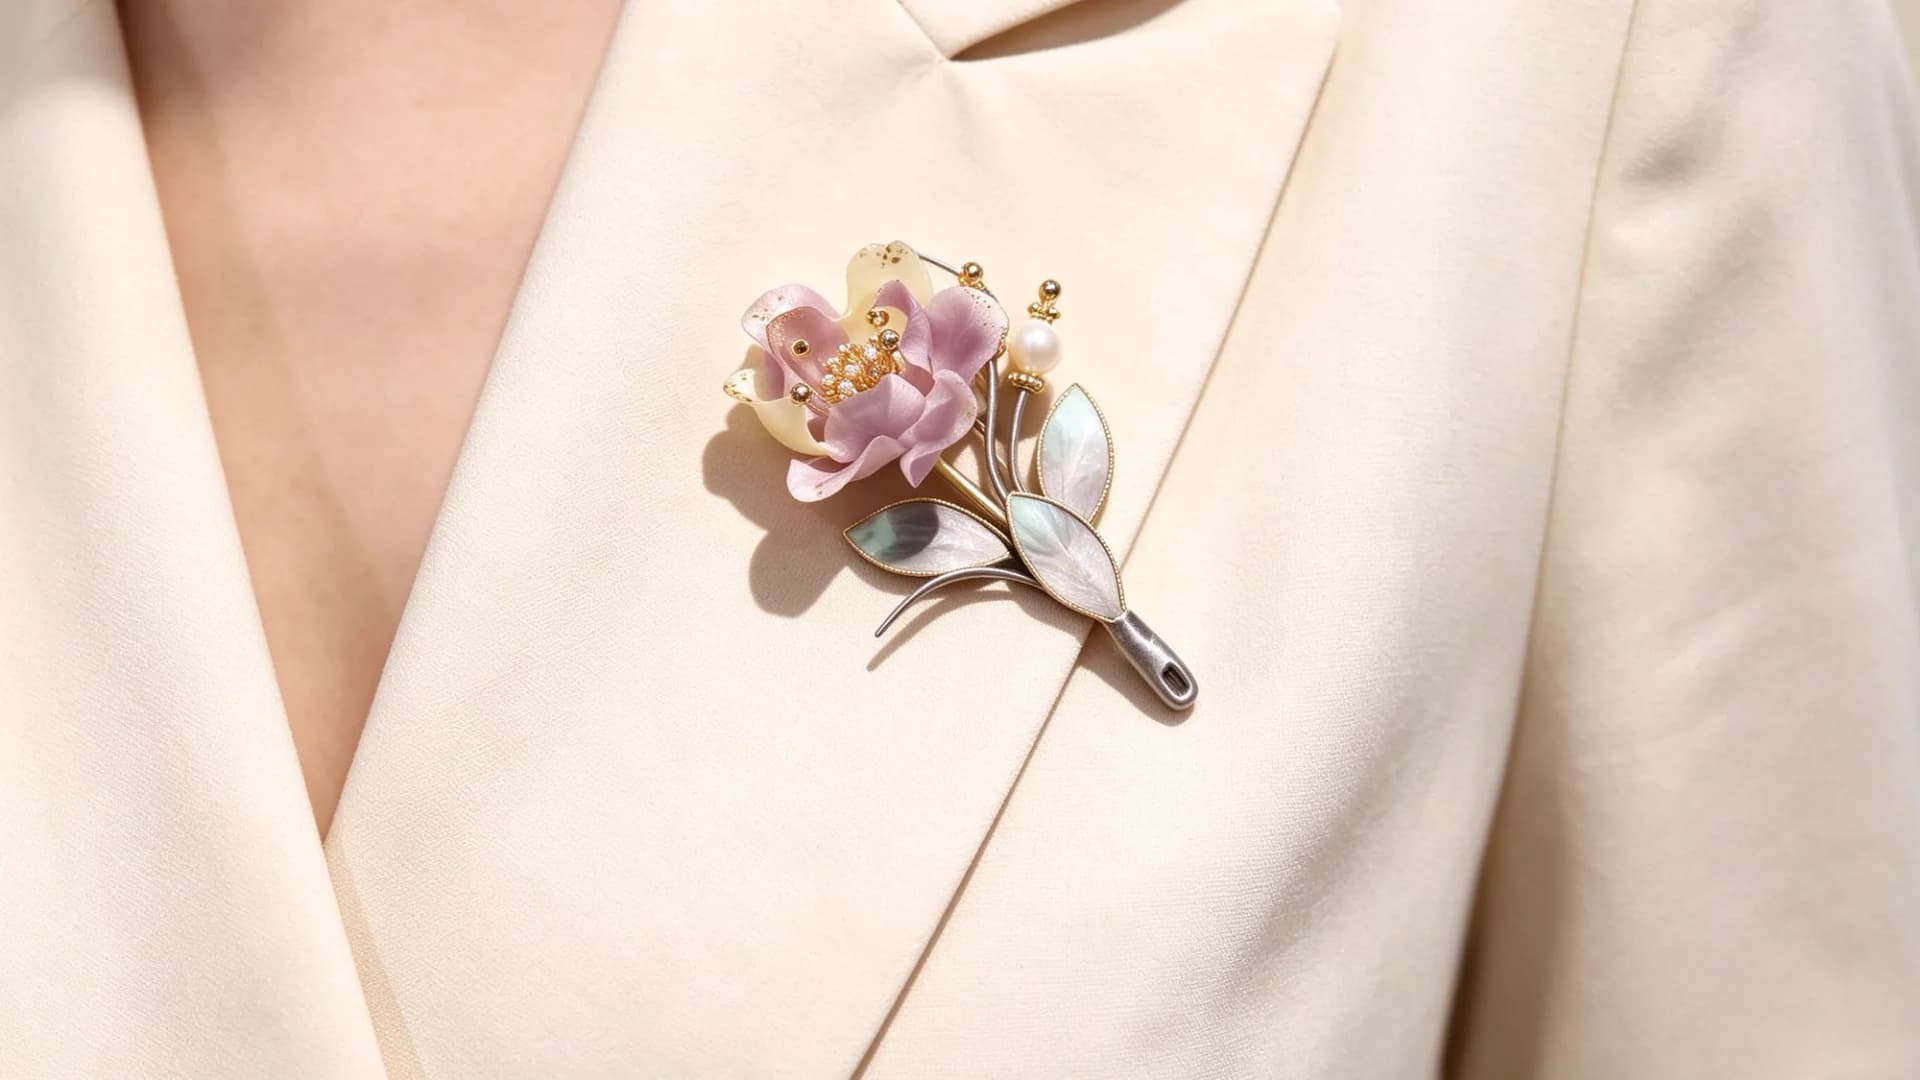
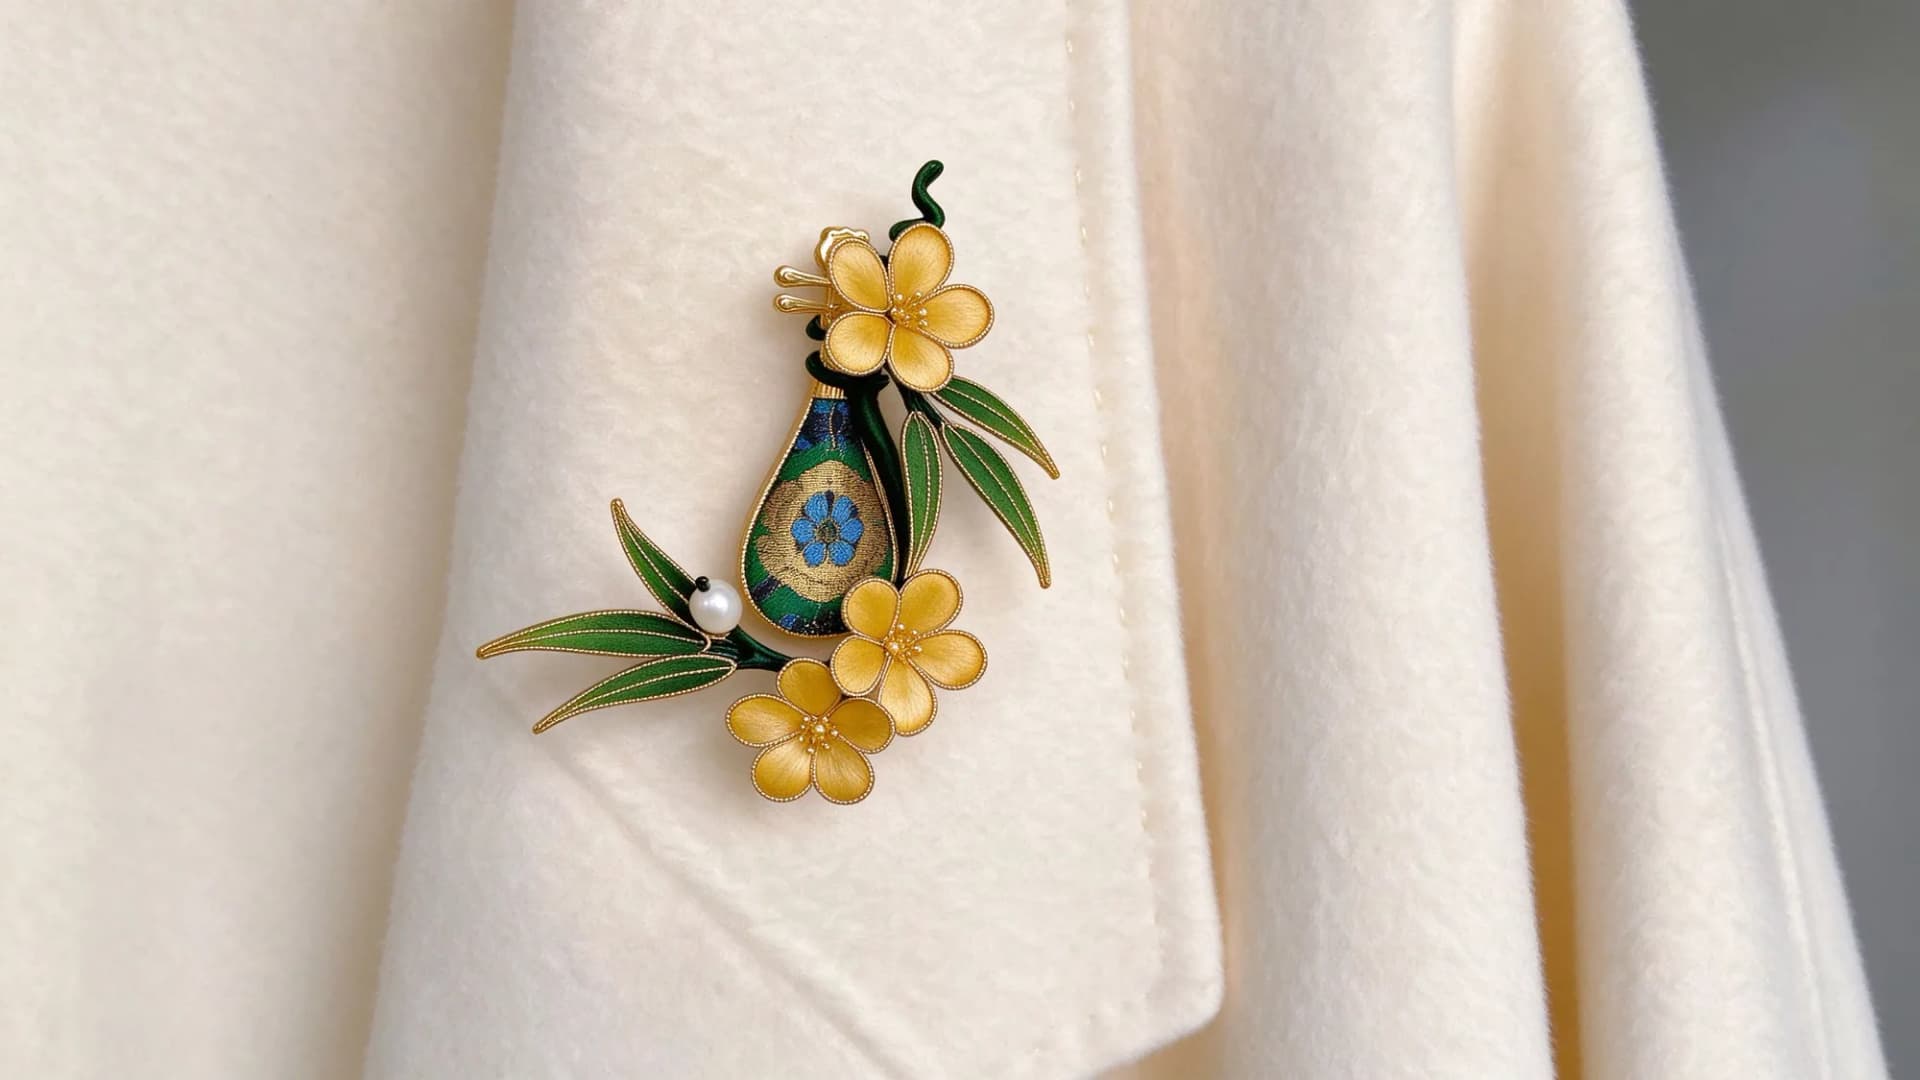
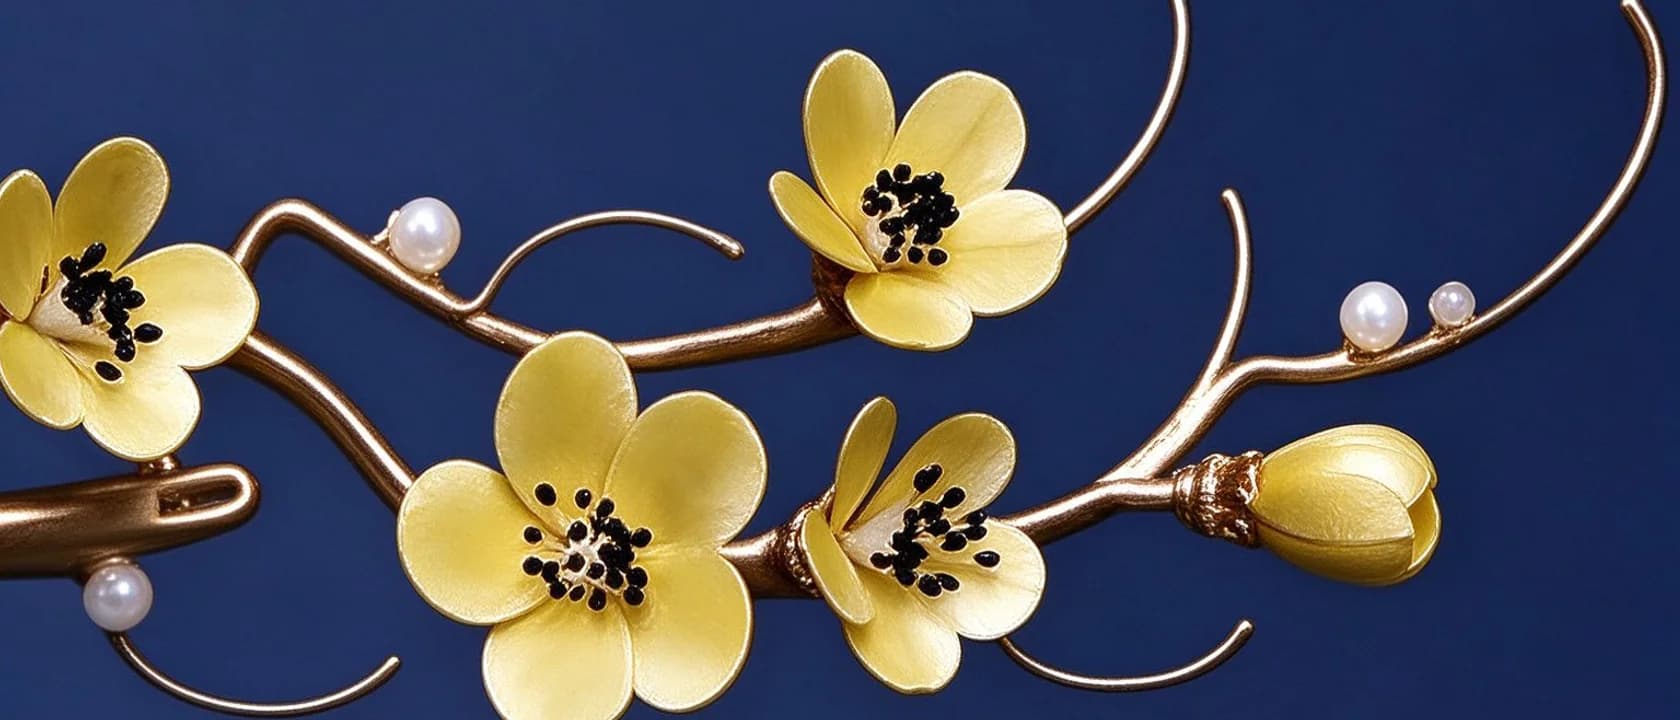
A chanhua peony hairpin is a Chinese silk flower ornament built from six to eight wire petals, each one wrapped in fine silk thread and curved by hand before the petals are gathered into a single bloom. It is light enough to wear all day, holds its shape for years, and takes a beginner working from a kit roughly four to six hours to finish.
The peony is the classic first flower for new makers because its shape is forgiving. A rose or a phoenix demands symmetry you have not learned yet; a peony looks better the slightly irregular it is.
If you are still deciding whether the craft is for you, start with what chanhua actually is and what Chinese silk flower art looks like in practice before buying materials.
What do you need to make one?
Everything below is in a standard beginner kit. If you are buying separately, this is the shopping list.
| Material | What to look for | Why it matters |
|---|---|---|
| Pre-shaped wire petals | Six to eight, in two or three sizes | Shaping your own wire is a separate skill; learn it later |
| Mulberry silk thread | Fine, dyed, already wound on a spool | Cheap polyester frays and will not lie flat |
| Hairpin base | Wooden stick or brass fork, 10–13 cm | Too thin and the flower tips forward |
| Small sharp scissors | Embroidery size | Cotton thread will not fit larger blades |
| Tweezers | Fine, straight tip | For tucking the last thread ends |
| Craft glue | Clear-drying, flexible | Rigid glue cracks when the petal flexes |
| Pearl stamens (optional) | 10–15 beads | Covers the centre where petals meet |
You do not need a frame, a loom or a hot glue gun.
Why start with a peony and not a rose?
Three reasons:
- Petal count. Six to eight petals is enough for a full peony. A rose needs 15 or more, and every petal is another chance to lose tension.
- Shape tolerance. Peony petals are wide and gently cupped. Small differences read as natural variation.
- Colour forgiveness. Peonies are traditionally made in graded colour — pale at the base, deep at the edge. Graded colour hides an uneven wrap.
Step 1: Sort the petals and plan the bloom
Lay every petal frame out on a flat surface and sort by size. You want the largest three or four for the outer ring and the smallest two or three for the centre.
Decide now which colour goes where. If you are using two thread colours, wind one spool of each and keep them separate — switching mid-petal is what makes beginners' flowers look muddy.
Step 2: Split your silk thread
Mulberry silk is usually sold as a plied thread. For chanhua you want a single fine strand, not the full thickness.
Cut a working length of about 60 cm. Longer than that and it tangles; shorter and you are re-threading every petal. Separate one strand and let the rest hang loose over the back of a chair or a hook so it cannot knot.
Step 3: Wrap your first petal
This is the only step that really has to be learned by hand, and it is the one that decides whether the finished flower looks like silk or like string.
Start at the base of the wire frame and wrap toward the tip, keeping the strand flat against the wire rather than twisted around it. Each turn should sit directly beside the last one, with no gap and no overlap.
Do not pull hard. Silk has almost no stretch, so tension comes from wrapping densely, not from pulling tight. Once you reach the tip, wrap back down to the base and secure the end against the wire with a single tight turn.
Check the petal against a lamp: if you can see bare wire through the thread, unwrap and start again. It is faster to redo one petal than to notice it on the finished hairpin.
Step 4: Shape each petal
Wrapped petals are flat. To turn them into a peony you give each one a curve by pressing it gently around your fingertip, working from the base outward.
Work in small adjustments and compare each petal against the first one. The outer ring should cup outward, the inner petals should cup inward toward the centre.
Step 5: Gather the petals into a peony
Hold the largest petals in a ring around the base of the hairpin, overlapping them by about a third. Bind them together with a few tight turns of thread, then add the inner petals on top, rotating them so the joins do not line up.
Finish the centre with pearl stamens or a single bead, glued in place. The centre is what makes the bloom read as a flower rather than a rosette.
Step 6: Mount the flower on the hairpin
Bind the finished bloom to the hairpin base with thread, then hide the binding with a small wrap of silk in the same colour as the petals.
Let the glue cure for a full day before wearing it. Flexible craft glue is still soft after an hour, and a flower that shifts while it sets will sit crooked permanently.
How long does it take to make one?
| Stage | First attempt | After three hairpins |
|---|---|---|
| Sorting and planning | 15 min | 5 min |
| Splitting thread | 10 min | 3 min |
| Wrapping 6–8 petals | 2.5–3.5 h | 1.5–2 h |
| Shaping | 30 min | 15 min |
| Assembly and mounting | 45 min | 25 min |
| Glue curing | 24 h | 24 h |
| Hands-on total | 4–6 h | 2–3 h |
Most beginners split this over two evenings. Sitting down for six hours straight is how people lose patience and stop checking their own work.
What are the five mistakes that ruin a first peony?
- Wrapping the thread spirally instead of flat. The petal looks ribbed instead of smooth.
- Pulling the silk too tight. The wire bows and the petal will not hold a curve.
- Mixing colour too early. Stay one colour per petal until the wrap is even.
- Skipping the centre. A bare middle makes the whole flower look unfinished.
- Wearing it before the glue cures. The most common reason a first hairpin sits crooked forever.
How do you keep a silk peony hairpin looking new?
Silk dislikes water and direct sun. Store the hairpin in the box it came in, or in a fabric pouch, and keep it away from perfume and hairspray — alcohol dulls the thread faster than anything else. If the petals flatten, reshape them with your fingers; the thread will hold the new curve.
Ready to try it? The Hydrangea Hairpin Kit uses exactly the same six steps, or you can start with the Blue Trailing Jasmine Hairpin if you prefer a smaller first bloom. If you would rather wear someone else's work first, browse the finished pieces.
Frequently asked questions
Can I make a chanhua peony without a kit?
Yes, but you will need pre-shaped wire petals, mulberry silk thread, a hairpin base and flexible clear-drying glue. A kit exists mainly to remove the wire-shaping step while you learn the wrapping technique.
Is chanhua hard to learn?
The first petal is hard and the eighth is routine. Most people find the technique clicks about halfway through their first flower, which is why a six-petal peony is a better first project than a rose.
How many petals should a chanhua peony hairpin have?
Six to eight. Nine or more makes a bloom heavy enough to tip a hair stick forward and is better suited to a brooch or a headdress.
Can I use polyester thread instead of silk?
You can, but polyester does not flatten against the wire the way mulberry silk does, so the finished petal looks visibly different beside silk ones and frays sooner.
How long will a silk peony hairpin last?
Worn occasionally and stored in a pouch or box away from water, perfume and direct sun, a well-made chanhua hairpin holds its shape for years. Damage usually comes from moisture or being crushed, not from age.