How to Decorate a Graduation Cap With a Chanhua Silk Flower
How do you decorate a graduation cap with silk flowers?
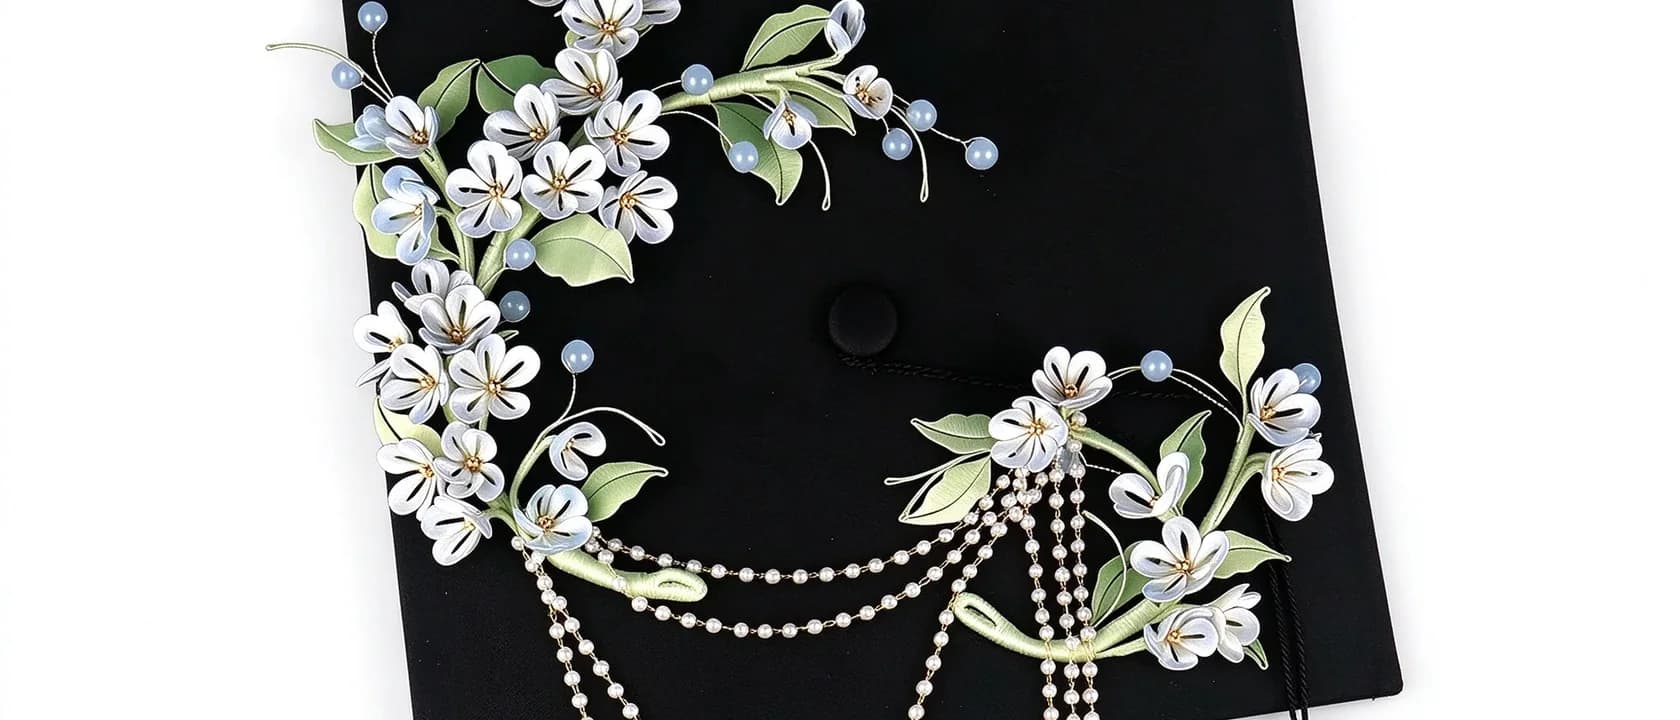
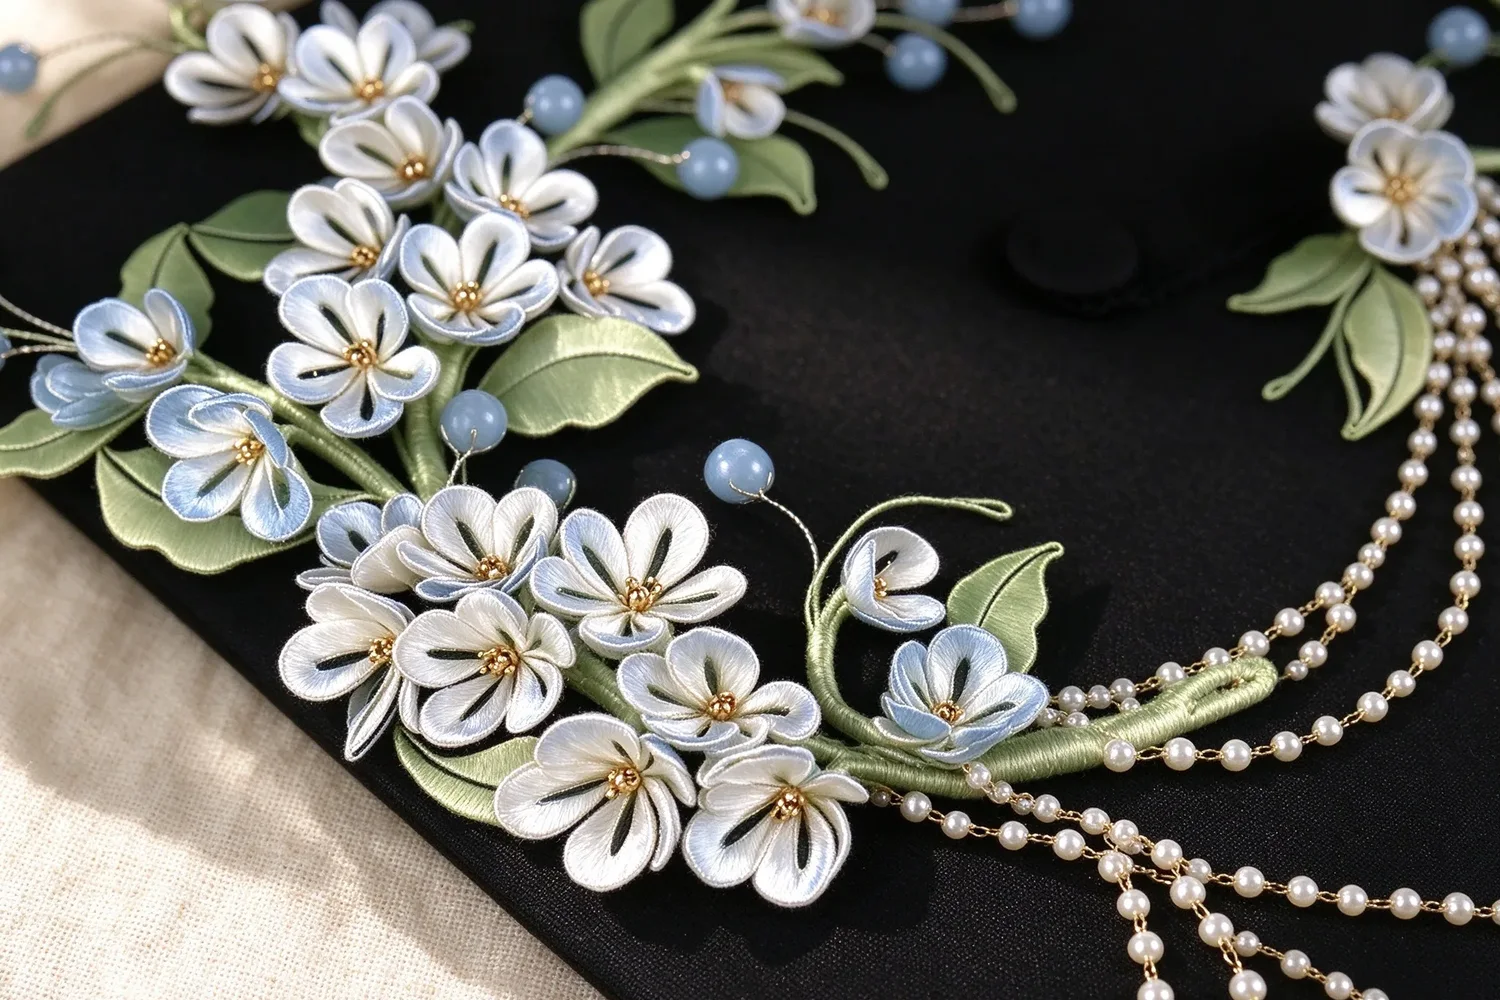
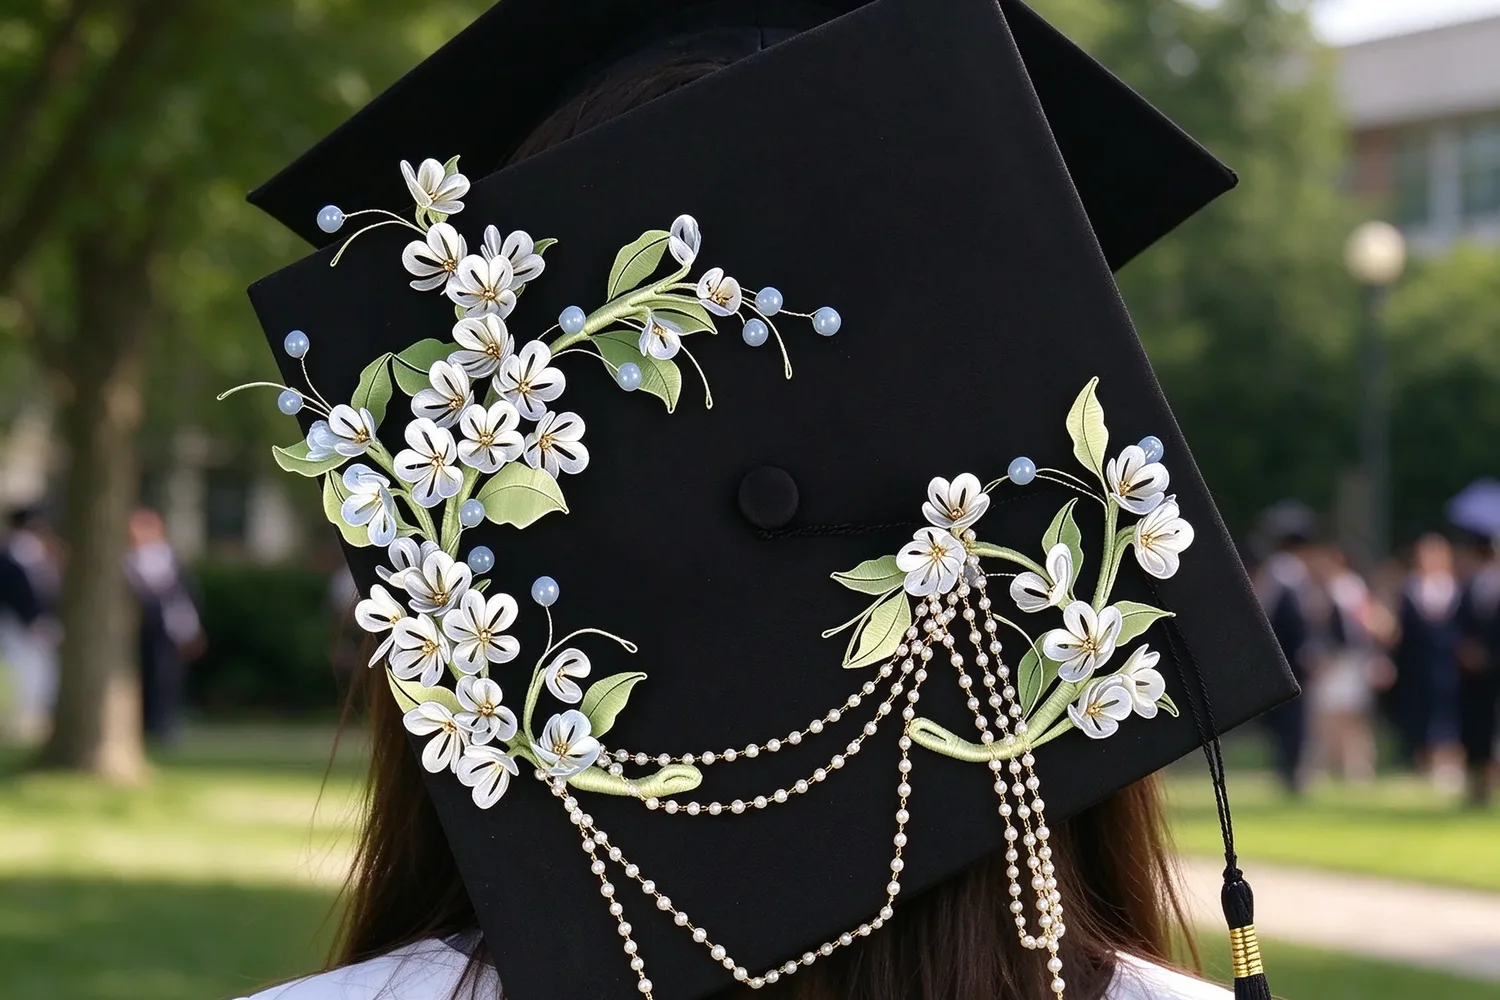
A chanhua graduation cap is a 26 × 26 cm mortarboard covered with hand-wound silk flowers instead of paint, stickers or glitter. Every bloom is wrapped individually around a copper wire frame, so the surface is three-dimensional and stays that way. It takes 16 to 20 hours, which is why it should be started three to four weeks before graduation day.
If you have never tried the craft, what chanhua is explains why the flowers are built on wire rather than stitched — that is what makes them hold their shape on a flat board.
Why decorate a cap with silk flowers instead of paint?
Most decorated caps are painted, and they photograph well for exactly one day. Silk flowers behave differently:
| Method | Looks like | Survives after the ceremony | Time |
|---|---|---|---|
| Acrylic paint | Flat, graphic, high contrast | Fades and cracks; the cap is usually thrown away | 2–4 hours |
| Stickers and glitter | Flat with some shine | Peels at the edges within weeks | 1–2 hours |
| Silk flowers (chanhua) | Dimensional, sculptural, tactile | Kept as a display piece for years | 16–20 hours |
The trade is time for permanence. A painted cap is a costume for one afternoon; a flowered one is the thing you keep on a shelf afterwards, which is usually why people choose it for a graduation in the first place.
What is in the kit?
| In the box | What it is for |
|---|---|
| 26 × 26 cm graduation cap | The mortarboard itself, so you are not decorating a borrowed one |
| Blue and white dyed silk floss | The flower colour; everything on the board is wound from this |
| Paper petal templates | Keeps every petal the same shape across a very repetitive build |
| Craft glue and paint | Fixes the blooms and touches up the base |
| Pearl chain | Runs along the edge and defines the silhouette |
| Adhesive backing sheets | What actually holds the flowers to the board |
| Brush and copper wire spool | For gluing and for winding your own frames |
| English video tutorial | Step by step, at your own pace |
You supply two things yourself: scissors and a lighter. The lighter seals each thread end — pass it briefly through the flame so the silk cannot unravel months later.
How long does each stage take?
| Stage | Time |
|---|---|
| Sorting templates and planning the layout | 1–2 h |
| Winding the petals | 8–10 h |
| Shaping and assembling the blooms | 4–5 h |
| Placing the blooms on the board | 2–3 h |
| Pearl chain and edge finish | 1–1.5 h |
| Glue curing between stages | Overnight, ×3 |
That adds up to 16–20 hours of work spread over three or four weeks. The reason to start early is not the hours — it is the curing time. Glue that has not fully set will let a bloom slide out of position, and on a flat board a single crooked flower is visible from across a room.
How do you attach the flowers so they survive the day?
- Plan the layout on paper first. Trace the board, then place the templates on your tracings until the arrangement looks right. Moving flowers on the real board risks smearing glue.
- Build the blooms completely before attaching anything. Wound, shaped and glued centres first; the board is the last surface they touch.
- Use the adhesive backing sheets, not extra glue. More glue means longer curing and more chance of a slide.
- Work from the centre outward. That way the outermost flowers sit over the inner ones, which is how the arrangement stays flat.
- Let it cure a full day before you pick it up. Then handle it by the edges only.
Who is this actually for?
Three kinds of people end up making one:
- Graduating students who want a cap nobody else in the hall is wearing, and who would rather keep it than throw it.
- Parents, partners and friends buying a graduation gift. A handmade cap is a gift of hours rather than money, which is the point.
- Craft lovers who want a real project. The build is repetitive in a satisfying way — the same motion, many times, with a finished object at the end.
If the recipient would rather wear something afterwards, a silk flower brooch is the same craft on a smaller scale, and a hydrangea hairpin is a shorter first project if you want to learn the wrapping motion before committing 20 hours to a board.
How big is the finished cap?
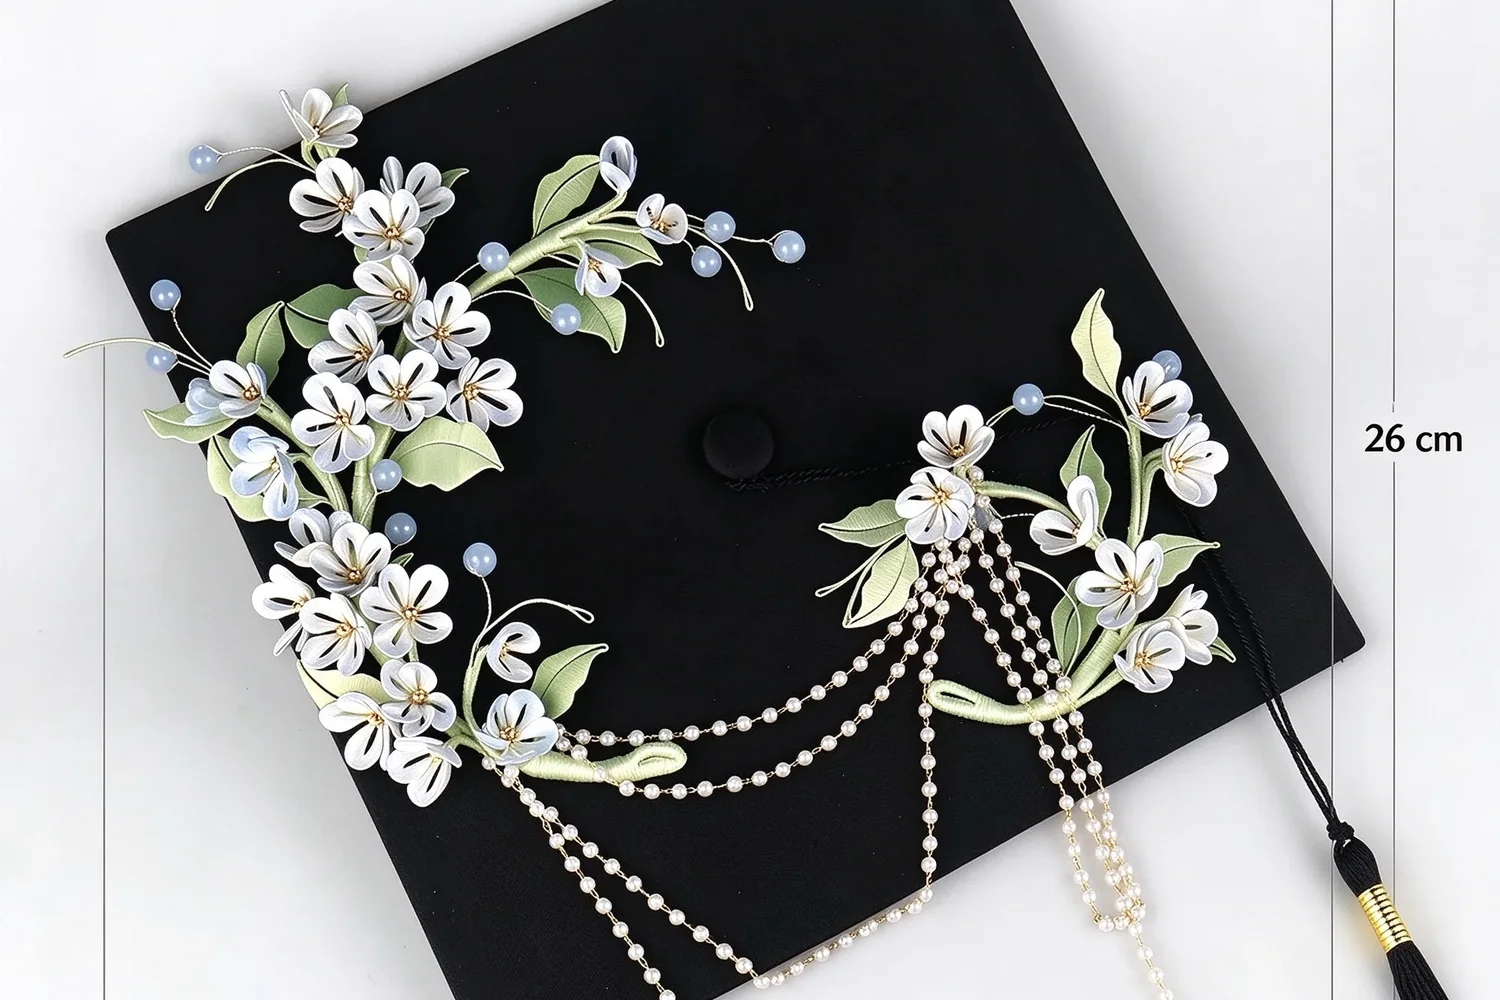
The board is a standard 26 × 26 cm mortarboard, so it fits the same head as any graduation cap you have worn. The finished surface adds roughly a centimetre of height where the blooms sit, which is worth knowing if the cap has to fit under a hood or a hat during the ceremony.
What do you do with it afterwards?
Keep it out of direct sunlight and away from damp. Silk does not fade quickly, but it does dull with prolonged sun, and the board underneath warps if it is stored somewhere humid. A shelf, away from a window, is enough — and if a bloom ever flattens, reshape it by hand. Wrapped silk holds whatever curve you give it.
If you would like to know what a smaller kit contains before buying anything, what's inside a chanhua DIY kit breaks a standard box down item by item. And for a broader picture of the craft and where it comes from, start with the Chinese intangible heritage guide.
Frequently asked questions
How long does a chanhua graduation cap take?
Sixteen to twenty hours of hands-on work, because every bloom on the board is wound individually. Most people do it across three or four weeks of evenings rather than in one sitting, which also gives the glue time to cure between stages.
Does the kit include the cap?
Yes. The kit ships with a 26 × 26 cm mortarboard, blue and white silk floss, paper petal templates, craft glue and paint, a pearl chain for the edge, adhesive backing sheets, a brush and a spool of copper wire, plus a step-by-step English video tutorial.
Will the flowers survive graduation day?
Yes, if you attach them with the adhesive backing sheets rather than repositioning them repeatedly. Silk flowers are light, and once glued flat to the board they travel well; the risk is handling the cap constantly in the days before the ceremony.
Can I use a cap I already own?
You can decorate any mortarboard, but starting from the kit's own cap is easier because you can build on it without worrying about damaging a cap you need to return to the school.
What do I need to supply myself?
Two things: a pair of scissors, and a lighter. The lighter is not optional — passing the thread ends briefly through a flame seals them so the silk cannot fray later.